Do you have a great Badminton smash?
Have you ever thought about the essential elements to establish a smash technique?
Here are 6 things for you to consider. They may not be new to you, but I hope you know most of them already.
However, if you read something new, please let me know.
– – – – – – – – – – – – – – – – – –
1. Get off the ground
2. Prepare to throw then ‘throw’
3. Pull your elbow
4. Squeeze your grip
5. Protect your arm
6. Placement over power
Bonus Section : Use science
– – – – – – – – – – – – – – – –
1. Get off the ground
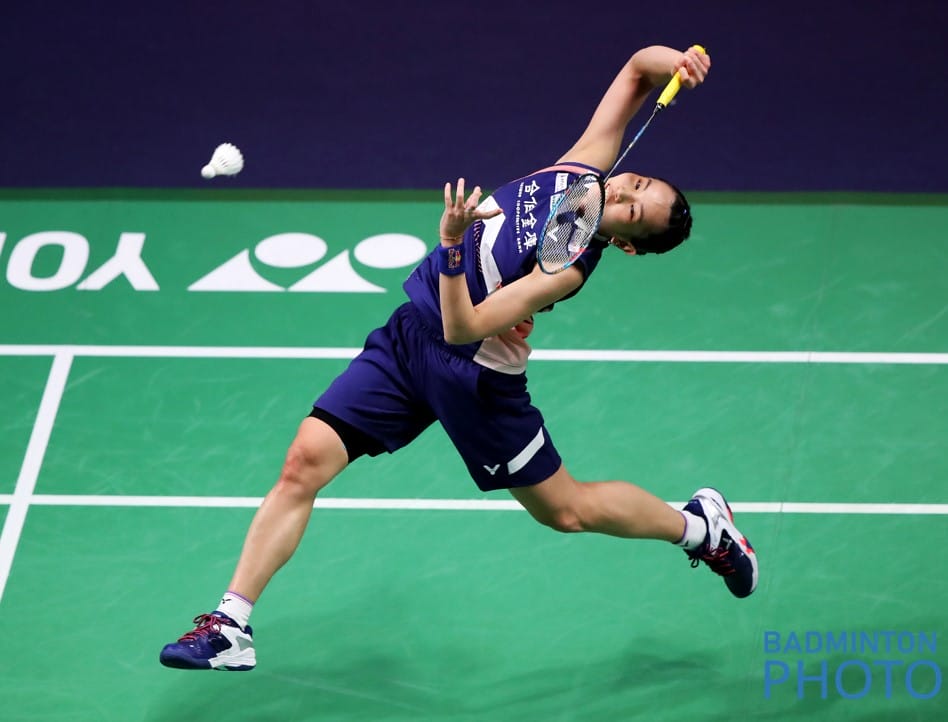
I believe that everyone should be encouraged to “push up” off the court when smashing. As a coaching basic, encourage all young players to be off the ground when smashing.
This will help the power of the stroke without ‘trying’ to hit it harder.
Encourage this from a very early age.
Use warm-ups and single-step shadow work. Emphasise a powerful push up and rotate with the throw.
You don’t have to jump 1m off the ground to hit hard, although it will help with power, angle and tactical aspects. Just enough to allow for a powerful rotation will suffice.
Practice playing your rear leg behind you and time the movement of the rear leg bending with the elbow “pulled back”.
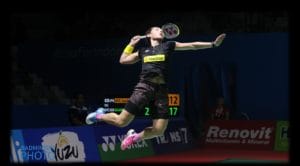 To achieve maximum height, both legs will be utilised and the preparation for vertical power will be different to that of a one leg lift off.
Have you seen this post giving you 6 Ways to improve your Jump Smash
– – – – – – – – – – – – – – – –
2. Prepare to throw then ‘throw’
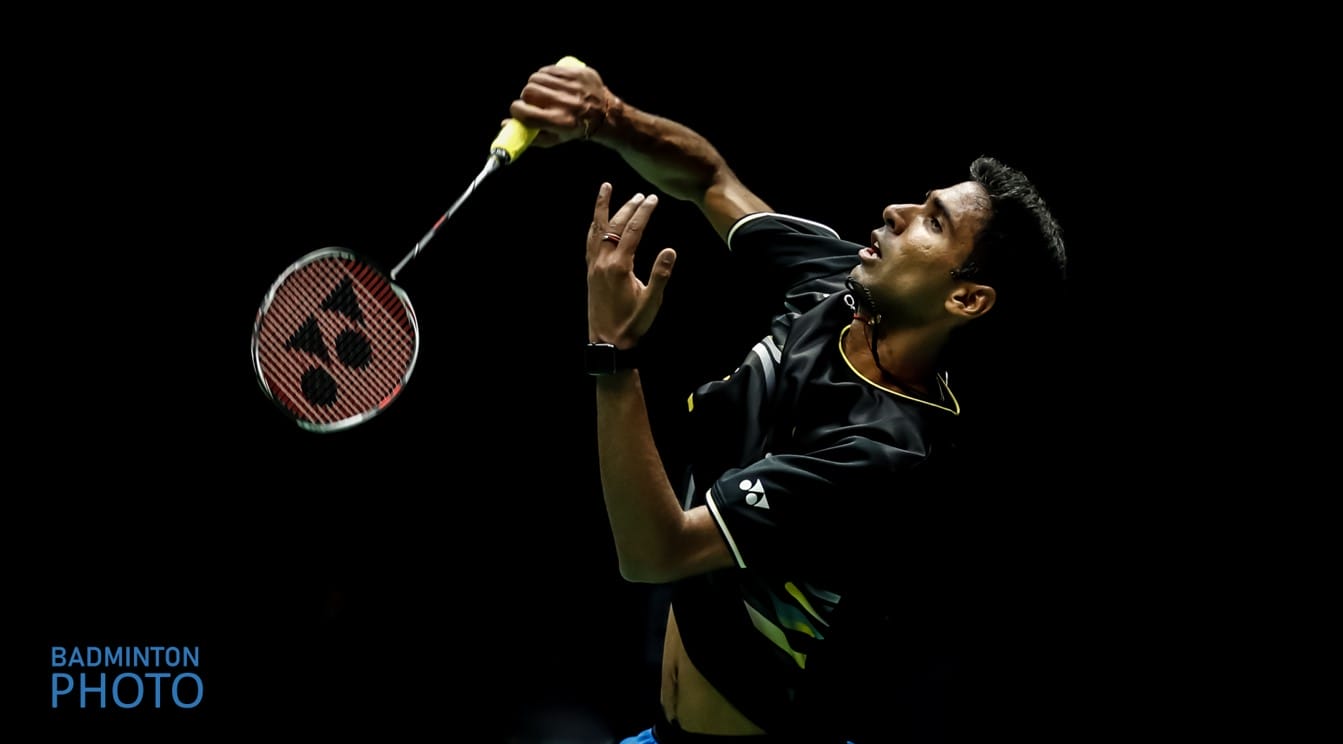
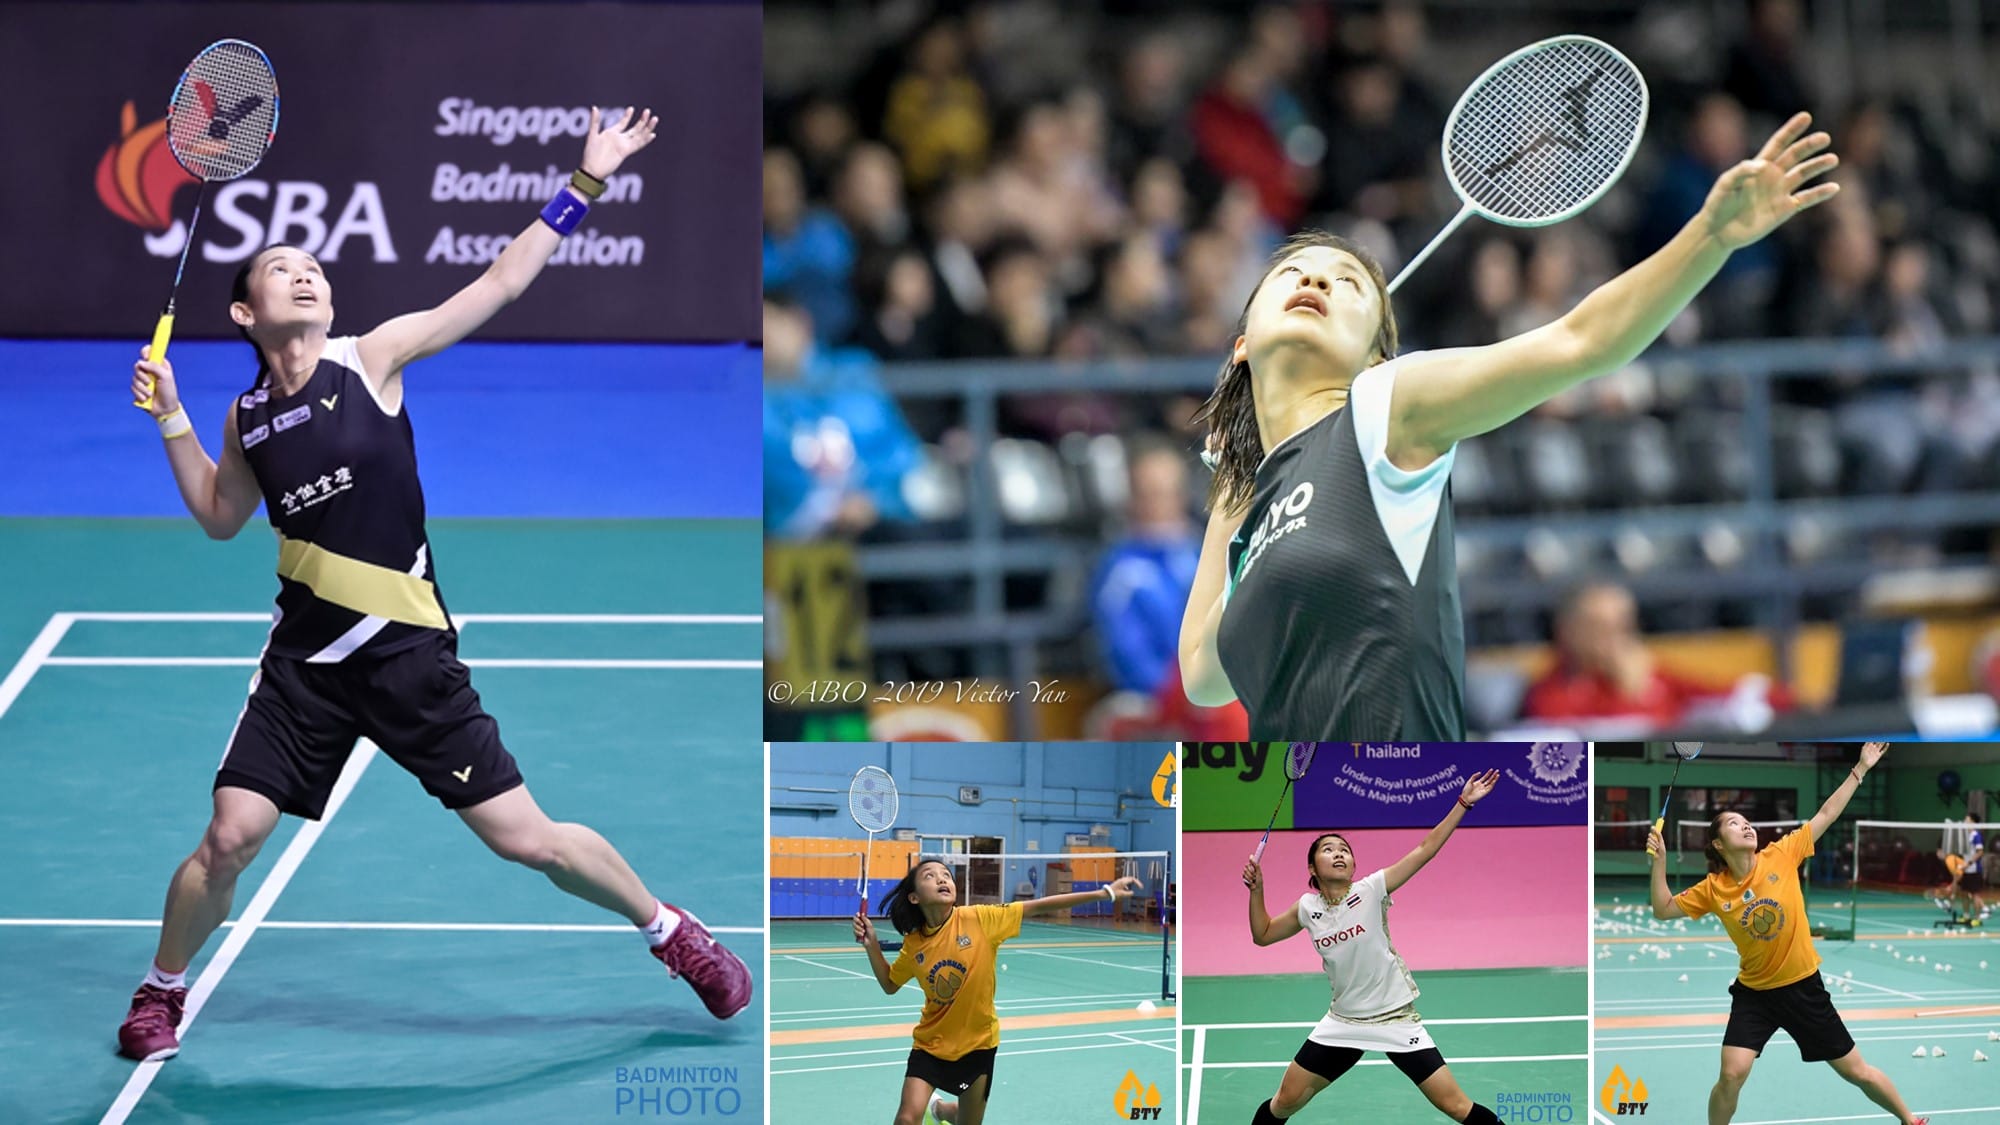
The position of the racket in the preparation can influence the throw. I see two main overhead racket preparations with one more commonly taught within coach education and the other commonly observed in world class ladies. The difference is the position of the racket just below the throw.
Have a look at the racket position in these photographs below

Describe what you see with regard to the position of the racket head and the direction the racket is pointing?
I recommend
– getting into a position early
– having a sideways body position
– legs wider than shoulder-width
– pull back with your elbow as you bend your rear leg
– having the racket head pointing upwards or at 45 degrees
– having the non-racket arm up and in front, either pointing at the shuttle or with a bent elbow
– allowing for individual differences in the exact position of both arms in the preparation
I recommend all junior players, especially female players adopt a position where the racket head is above or behind their head and where they may be unable to see it. It would be pointing in an upwards direction and be early in preparation. The key is the elbow position.
– – – – – – – – – – – – – – – –
3. Pull your elbow back and down
 Whichever initial racket position you adopt, an important coaching image/cue is to ‘pull your elbow back and downwards’ prior to striking.
This is should be combined with a bending of the rear leg.
Coaches should consider using this cue and encourage players to experiment with when they pull back and down in terms of timing.
The depth of the elbow, i.e. how far it is drawn backwards, should also be part of the ‘trial and error’ learning process.
In some instances, a lifting of the front leg off the court may be observed.
This aspect is not essential and could be difficult for some players to consciously time the movement.
If it happens without coaching, then consider allowing it and resist the temptation to ‘correct’ if the resulting stroke is powerful and well timed.
– – – – – – – – – – – – – – – –
4. Squeeze your grip
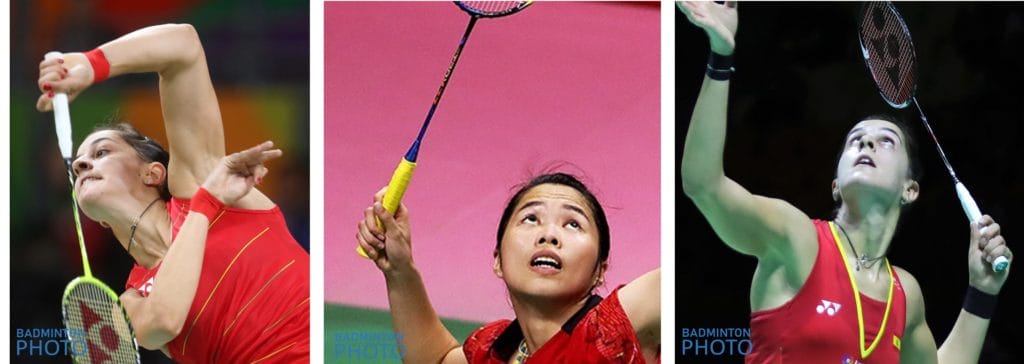
The advice on grips varies, I have heard a few different descriptions of how to hold and how hard to hold the racket
I recommend thinking about “squeezing the fingers” together just before impact.
This will close the gaps between the fingers and cause the thumb to slip downwards towards the fingers. The timing of “squeezing” will need practice. This is not to say that the grip must be held as hard as you can. If you are interested then try this out.
The position of the hand can also be varied. Some of the most powerful badminton smashes I have seen use a slightly ‘panhandle’ grip. You don’t have to use this but experiment before rejecting it.
– – – – – – – – – – – – – – – –
5. Protect your arm
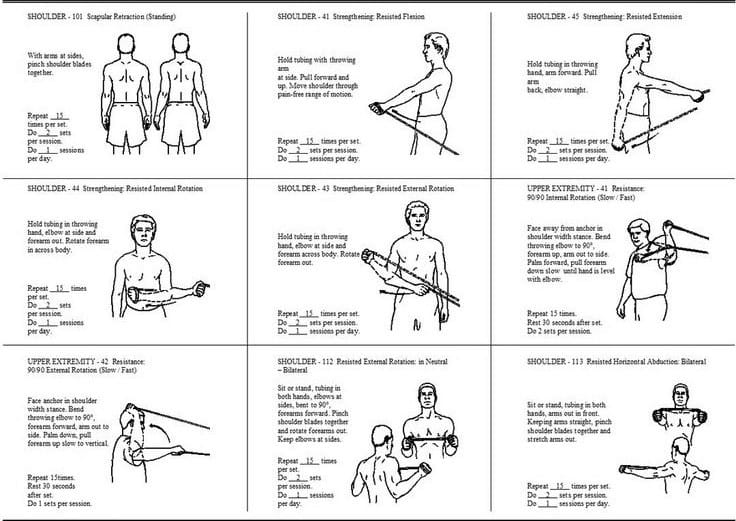
It doesn’t matter if you have a powerful smash or one that you consider to be weak, your arm will get stressed. The more you hit the more it will be fatigued. If you are trying to increase the power then the stress on your arm and shoulder will be multiplied. To combat this and to assist with the power then use the exercises below.
Do them x3 a week, initially only one set and only 10 reps. Do that for 2-3 weeks, then for the next 3 weeks increase the sets to x2 and leave the reps at 10. From then on do as you want but remember it’s not about trying to do max reps.
If you feel fatigued or have pain whilst doing the exercises then go back to the previous programme and reset
The frequency and rep amount is only a guide. Be cautious and progress slowly. There is no need to rush and certainly, there is no need to suffer pain during the movements.
– – – – – – – – – – – – – – – –
6. Placement over power
A great badminton smash is not ALL about power! Yes, it is an amazing feeling when your hit an unreturnable smash, but how often do you hit the court outright, or is it more likely that the opponent makes a mistake or a poor return.
In doubles or singles, the task is to hit with placement first and power a close second. The placement or risk factor of where you try to hit the shuttle can be compromised if all you try to do is hit HARD. Understand this and you will create more rally winning opportunities for yourself or your partner.
Try to hit all your smashes with the intention of “how can I gain an advantage with this shot”
– – – – – – – – – – – – – – – –
Use science
For fun and education watch Mark King talk about his study into what makes a world-class badminton smash. The study is in the early stages, however, there is plenty to think about.
